
RC Body ShopClear shell in. Finished body out.
Polycarbonate paint, masking, scissors and reamers, 1,168 body shells and 8 step-by-step guides. Everything a body needs between the bag and the track.
Six stages, in this order
A polycarbonate shell is painted from the inside, so the job runs backwards: details first, backing last. Each stage has its guide and its shelf.
-
Cut and fit
Trim the shell on its moulded line, offer it up to the chassis and ream the post holes while you can still see through it.
-
Wash
Warm water and washing-up liquid on the inside, then a lint-free dry. Mould release is the usual reason paint flakes.
-
Mask
Window masks first, then tape or liquid mask for the design. Burnish every edge; paint finds the gaps.
-
Spray
Polycarbonate paint, inside the shell, darkest colour first, in three or four coats thin enough to see through.
-
Back it
White behind fluorescents and pale colours, silver behind metallics, black last to stop light showing through.
-
Peel and detail
Lift the masks, peel the overspray film off the outside, then decals, light buckets and body clips.
The shelves
-
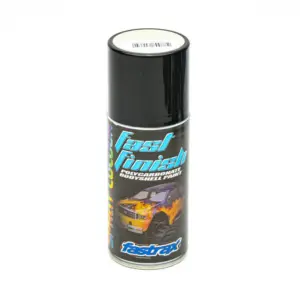 Polycarbonate spray paint
Aerosols that flex with the shell
99 products
Polycarbonate spray paint
Aerosols that flex with the shell
99 products
-
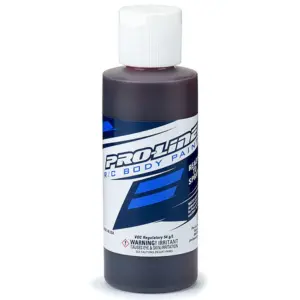 Airbrush paint
Bottled colour and reducer
34 products
Airbrush paint
Bottled colour and reducer
34 products
-
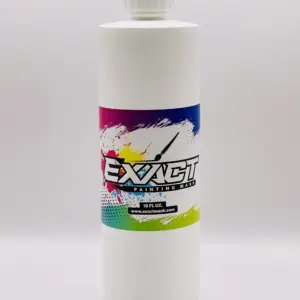 Masking
Tape, line tape and liquid mask
17 products
Masking
Tape, line tape and liquid mask
17 products
-
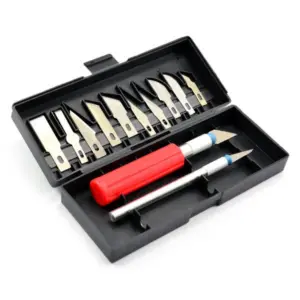 Scissors and reamers
Curved scissors, reamers, hole markers
30 products
Scissors and reamers
Curved scissors, reamers, hole markers
30 products
-
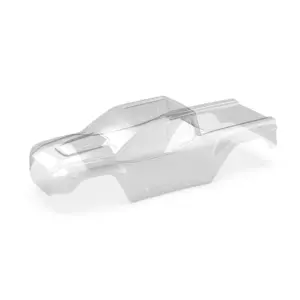 Clear body shells
Unpainted, ready for your colours
446 products
Clear body shells
Unpainted, ready for your colours
446 products
-
All body shells
Clear, painted and printed
1,168 products
-
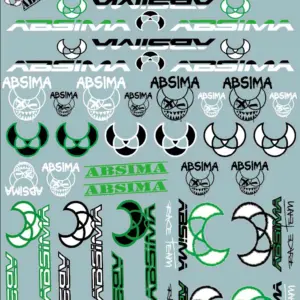 Decals and stickers
Sheets and model-specific sets
273 products
Decals and stickers
Sheets and model-specific sets
273 products
-
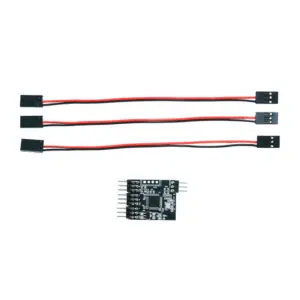 Light kits
LED sets, bars and buckets
313 products
Light kits
LED sets, bars and buckets
313 products
-
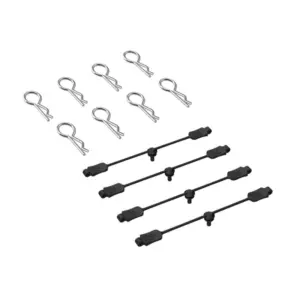 Clips, posts and mounts
Body clips, posts, magnets
378 products
Clips, posts and mounts
Body clips, posts, magnets
378 products
HPI Racing bodies
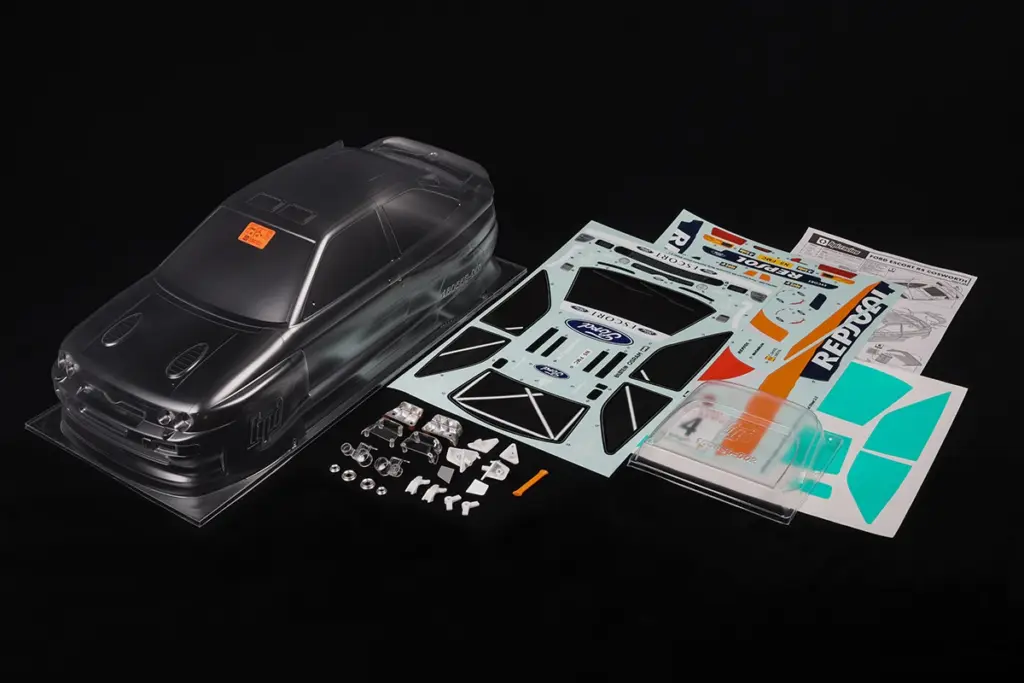
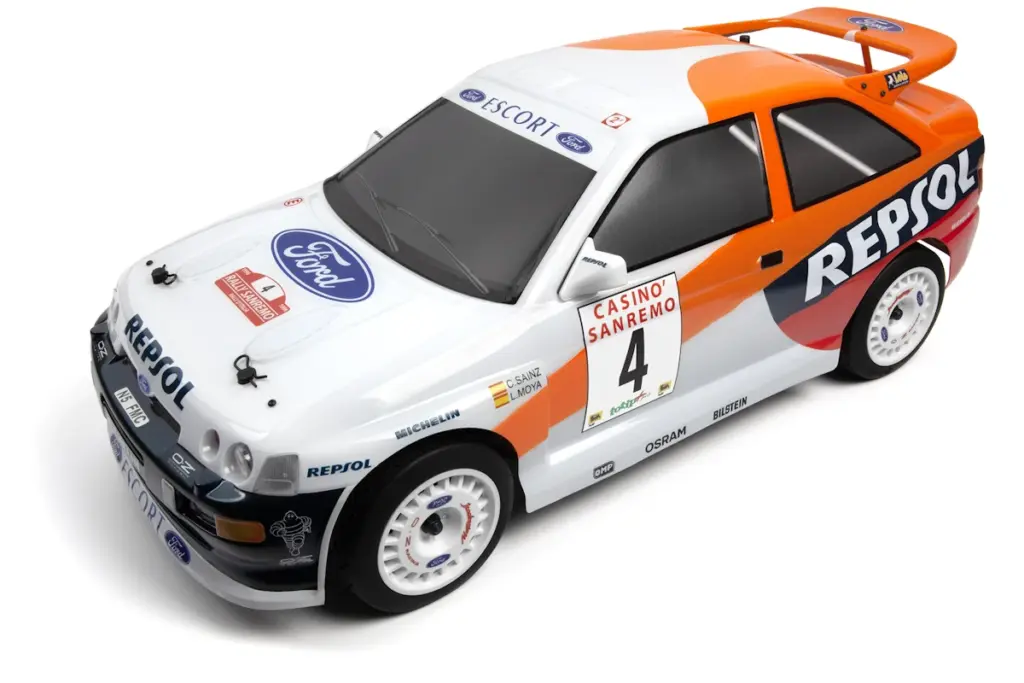
Crisp moulding, proper proportions and a back catalogue that runs from a 1966 Mustang to the Mach-E 1400. Clear shells to paint yourself, or painted and printed bodies that only need mounting. HPI clear shells usually arrive with window masks, a decal sheet and the overspray film already on; each listing says what is in the bag.
-
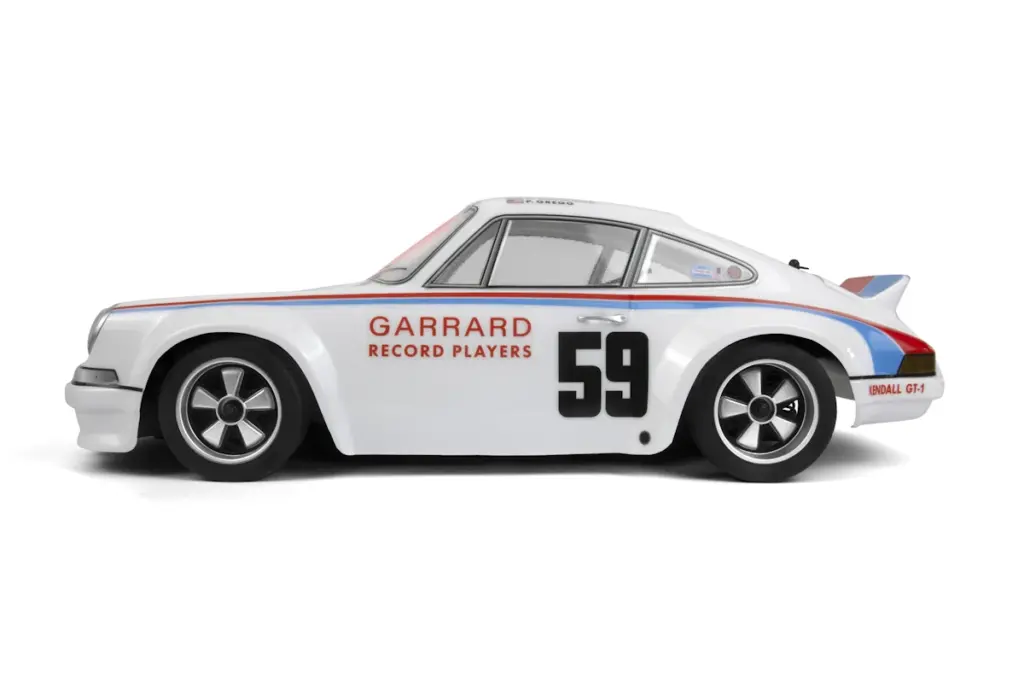 1973 Brumos Porsche Carrera RSR Painted Body£69.99
-
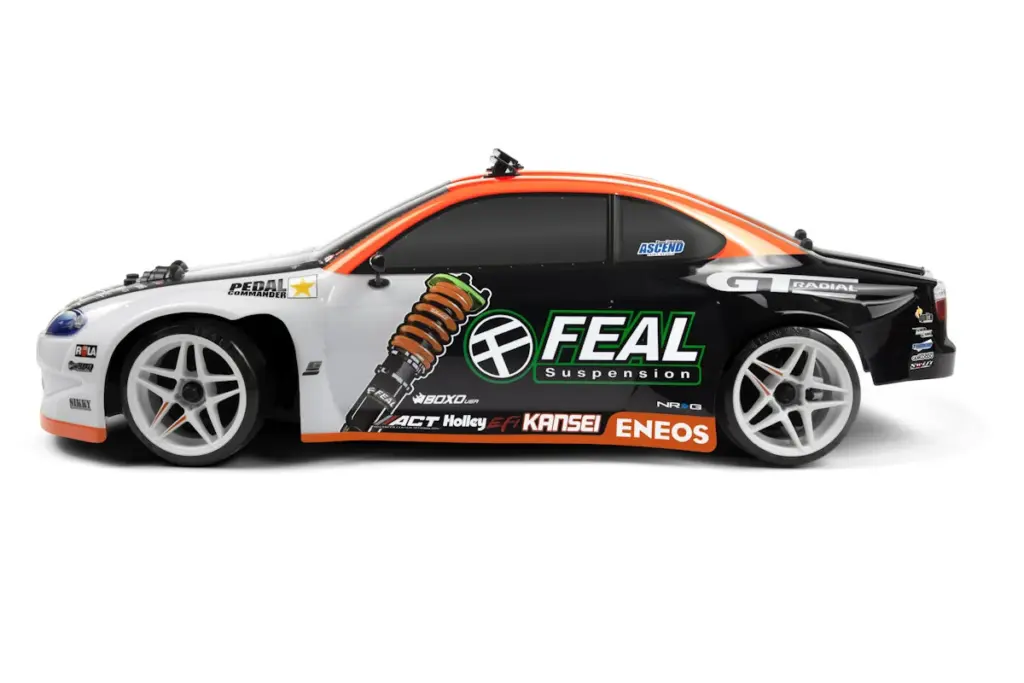 Nissan Silvia S15 Odi Bakchis Printed Body (200mm)£69.99
-
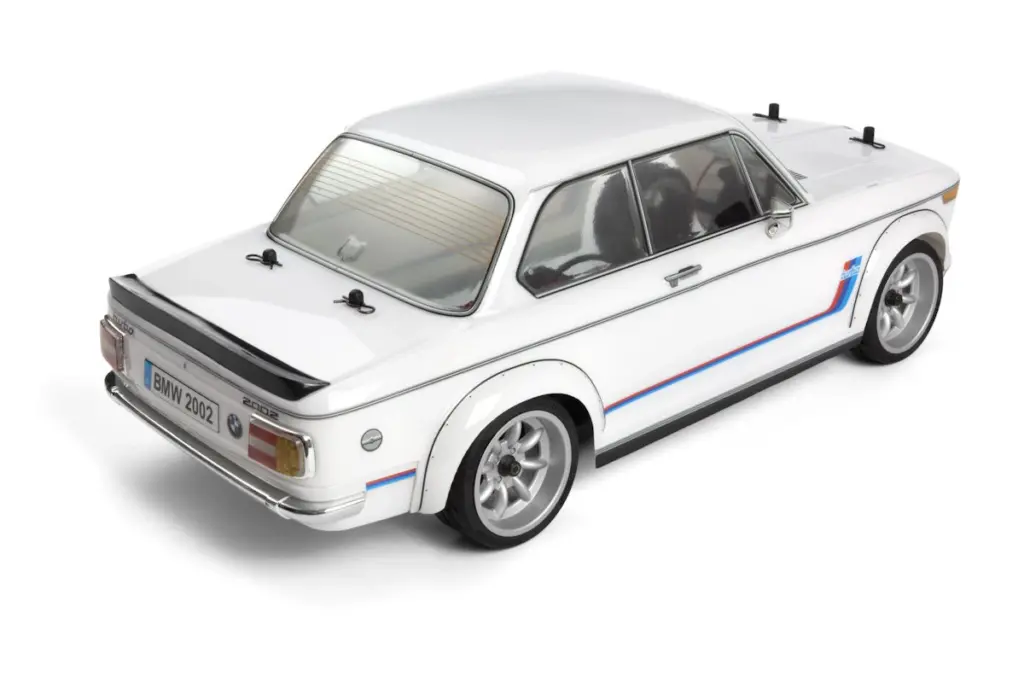 BMW 2002 Turbo Body - Painted (200mm)£69.99
-
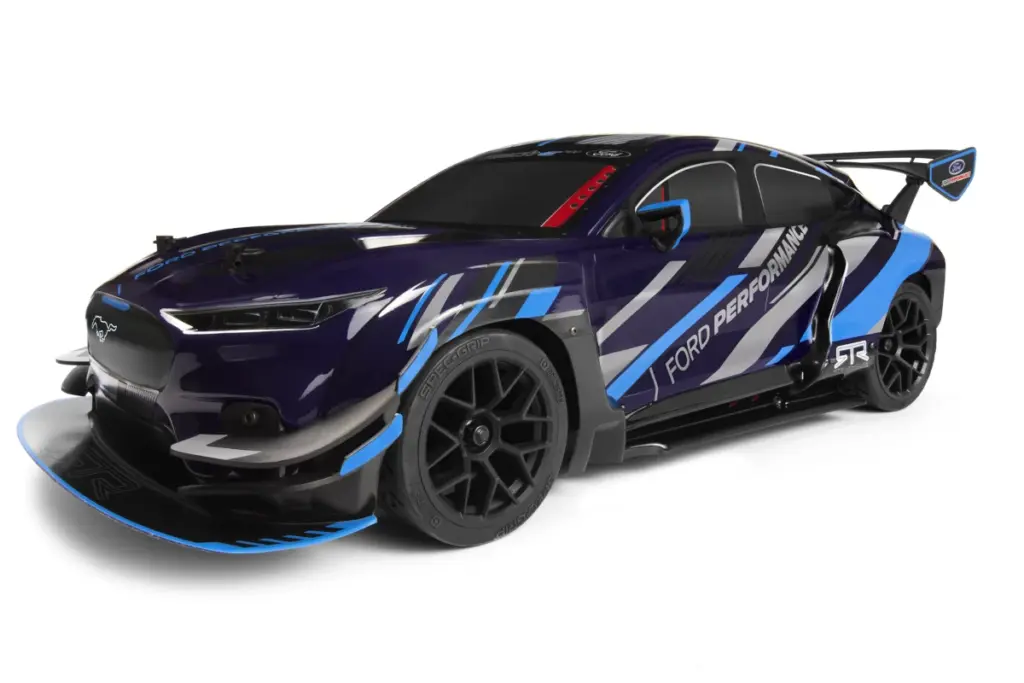 Ford Mustang Mach-E 1400 Blue Painted Body (200mm)£69.99
-
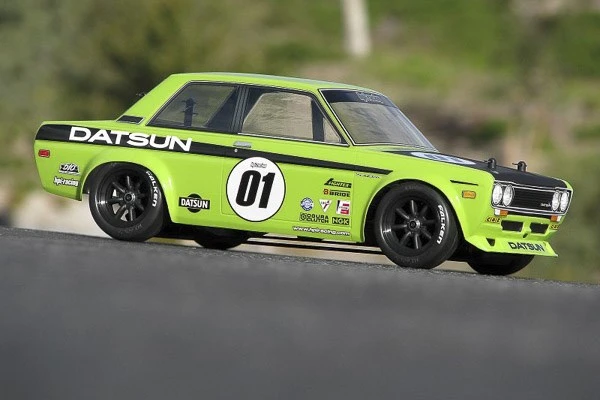 Datsun 510 Body (Wb225Mm.F0/R3Mm)£36.99
-
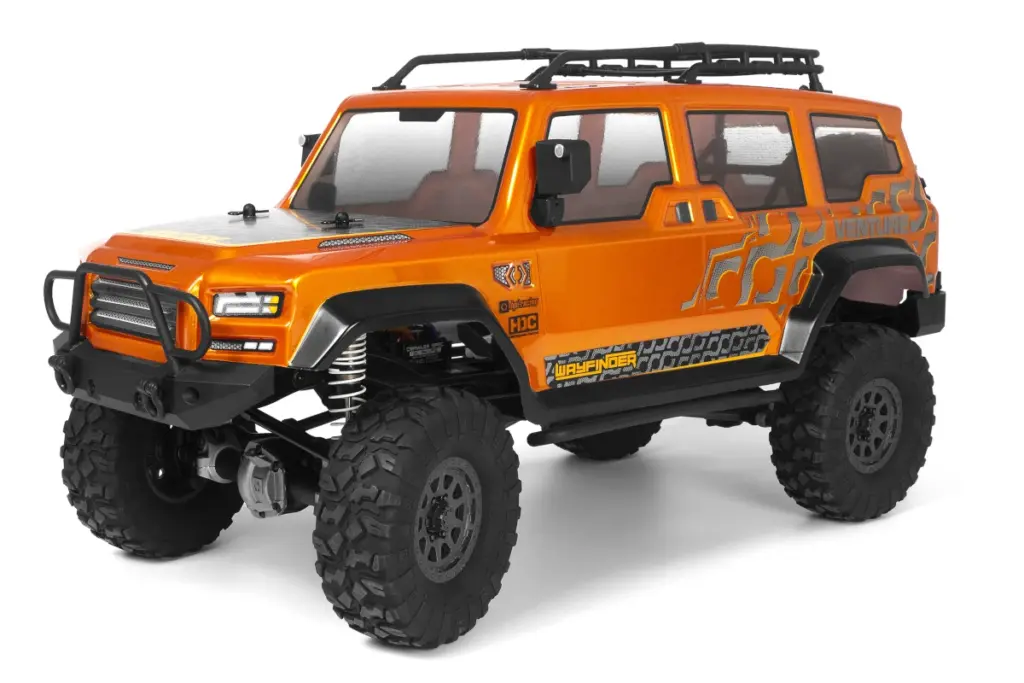 Venture Wayfinder Painted Body Metallic Orange£83.99
-
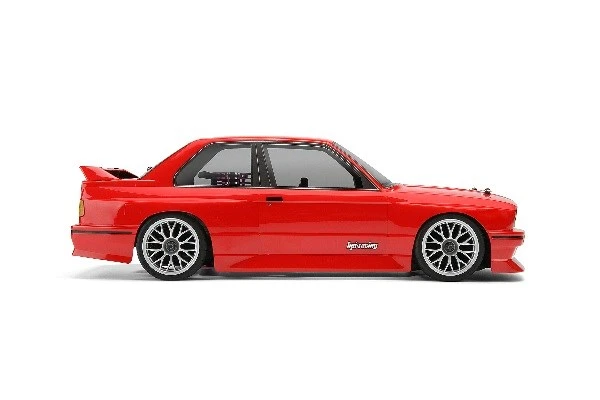 BMW E30 M3 Body (200mm)£29.99
-
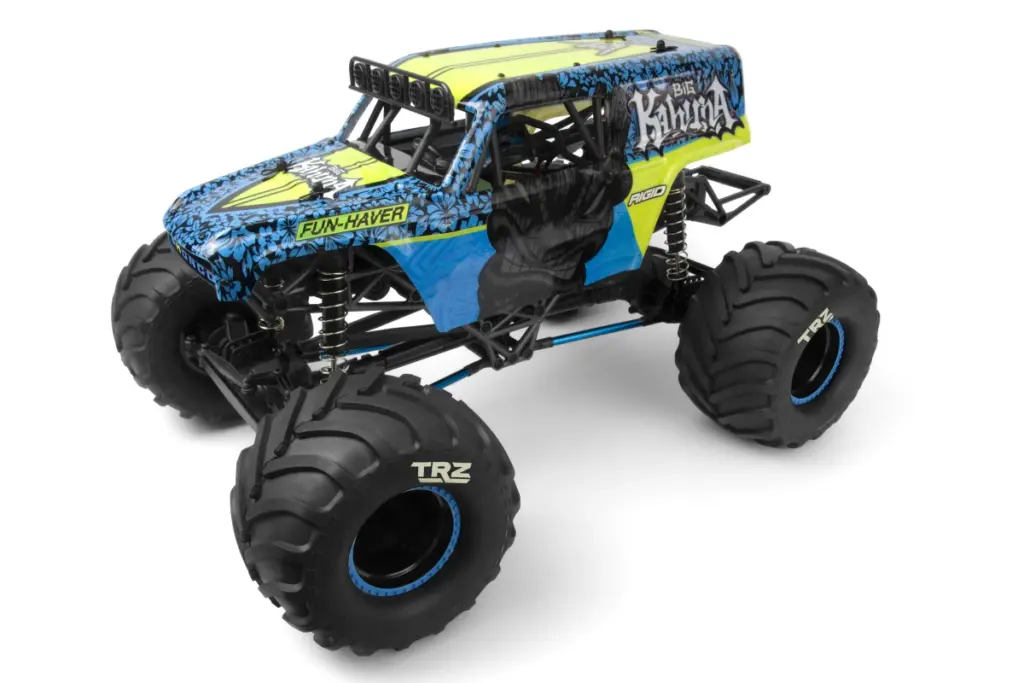 Ford Bronco 4400 Monster Truck Body (Printed)£58.99
-
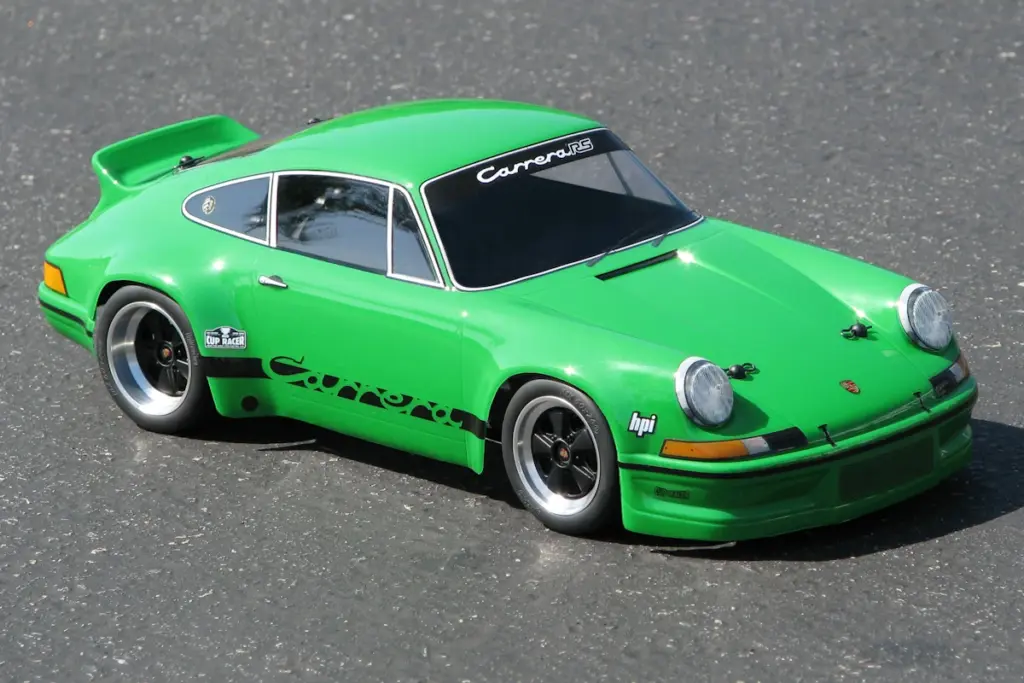 1973 PORSCHE CARRERA RSR BODY (WB210MM.F0/R6MM)£29.99
The paint wall
150ml polycarbonate aerosols. One can of colour covers a typical 1:10 shell; add white or silver behind it.
- Fastrax Fast Finish Utility Grey Spray Paint 150ml£5.69
 Fastrax Fast Finish Combat Olive Spray Paint 150ml£5.69
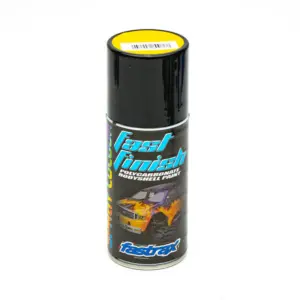 Fastrax Fast Finish Dune Yellow Spray Paint 150ml£5.69
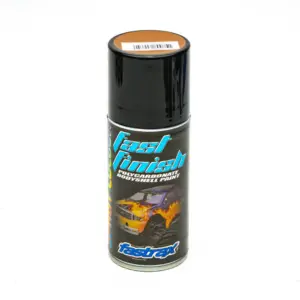 Fastrax Fast Finish Canyon Brown Paint 150ml£5.69
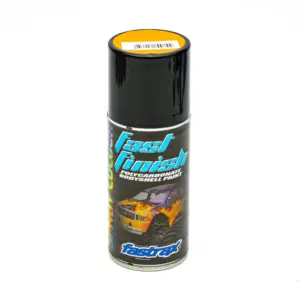 Fastrax Fast Finish Dust Orange Spray Paint 150ml£5.69
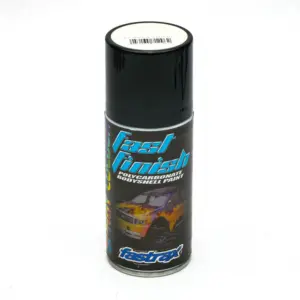 Fastrax Fast Finish Desert Ivory Spray Paint 150ml£5.69
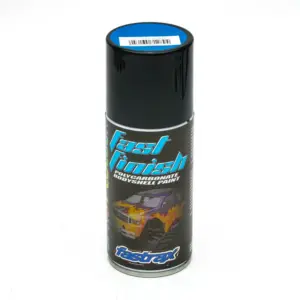 Fastrax Fast Finish Atlas Blue Spray Paint 150ml£5.69
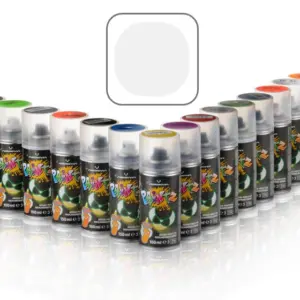 Lexan Spray White 150ml£7.95
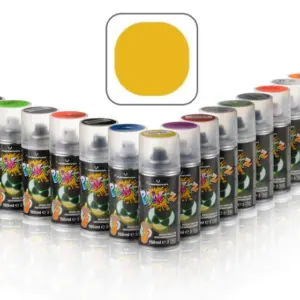 Lexan Spray Yellow 150ml£7.95
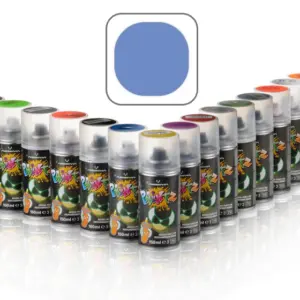 Lexan Spray Blue 150ml£7.95
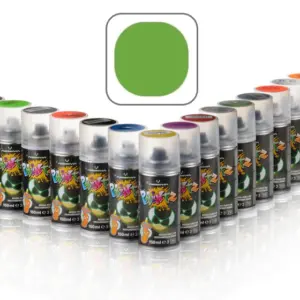 Lexan Spray Green 150ml£7.95
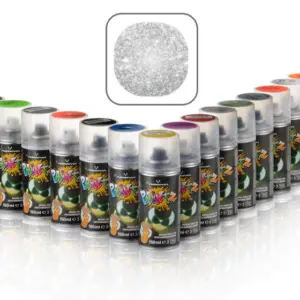 Lexan Spray Silver Flake 150ml£7.95
Spray Booth guides
Written for a first shell and useful on a fiftieth. Each one lists the kit for that job beside the steps.
- How to paint an RC car body The whole job in nine steps, from a clear shell in a bag to a finished body on the car.
- RC body paint explained Why a clear shell needs polycarbonate paint, cans against airbrush, and how much to buy.
- How to cut and trim an RC body shell Clean arches, straight sills and post holes in the right place, done before the paint goes on.
- How to mask an RC body Window masks, tape and liquid mask, and how to get a line that stays sharp.
- Colour order and backing coats Dark before light, then white, silver or black behind it. The order that keeps colours clean.
- Airbrushing an RC body The kit, thinning and pressure, and a first fade from nose to tail.
- Decals, lights and finishing touches Peeling the film, laying decals without bubbles, fitting lights and mounting the shell.
- Fixing paint mistakes and tired shells A fault finder for flaking, bleed and runs, plus how to strip a shell safely and repair a crack.
A first paint job, itemised
Everything on this list gets used on the first shell and again on the next. You supply the washing-up liquid and a hair dryer.
The whole list£45.34
-
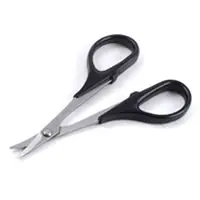 Curved scissors, for wheel archesFastrax Team Curved Scissors
£3.79
Curved scissors, for wheel archesFastrax Team Curved Scissors
£3.79
-
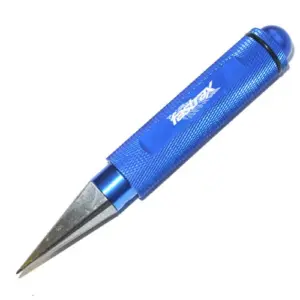 Body reamer, for post and aerial holesFastrax Anodised Body Reamer
£12.99
Body reamer, for post and aerial holesFastrax Anodised Body Reamer
£12.99
-
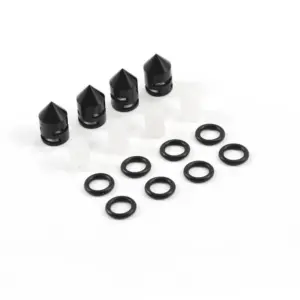 Hole markers, so the posts line upFastrax Bodypost Hole Markers
£6.99
Hole markers, so the posts line upFastrax Bodypost Hole Markers
£6.99
-
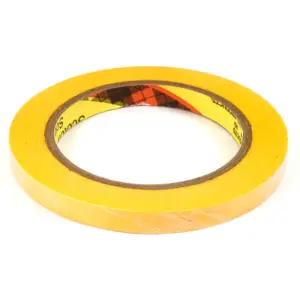 10mm masking tape, for stripes and edgesFastrax Masking Tape 10mm X 50m
£4.50
10mm masking tape, for stripes and edgesFastrax Masking Tape 10mm X 50m
£4.50
-
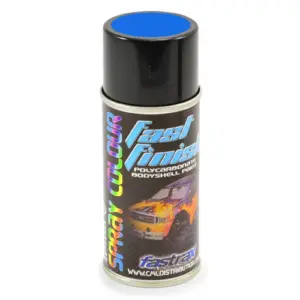 Your main colourFastrax Fast Finish Rally Blue Spray Paint 150ml
£5.69
Your main colourFastrax Fast Finish Rally Blue Spray Paint 150ml
£5.69
-
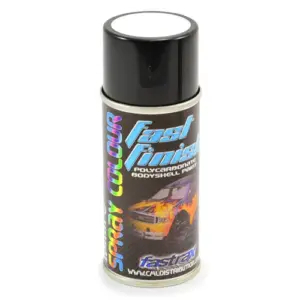 White, to back it and make it solidFastrax Fast Finish Ivory White Spray Paint 150ml
£5.69
White, to back it and make it solidFastrax Fast Finish Ivory White Spray Paint 150ml
£5.69
-
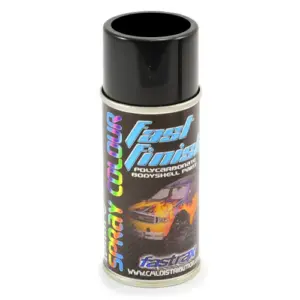 Black, as the last coatFastrax Fast Finish Jet Black Spray Paint 150ml
£5.69
Black, as the last coatFastrax Fast Finish Jet Black Spray Paint 150ml
£5.69
Asked at the counter
What paint do I use on an RC car body?
Clear RC shells are polycarbonate (often sold as Lexan), and they need polycarbonate paint. It etches into the plastic and stays flexible, so it does not crack or flake when the shell bends in a crash. Ordinary model enamel, acrylic and car aerosols sit on the surface and come off in sheets. Hard plastic (ABS or styrene) bodies are the exception: those take normal model paint on the outside.
Do you paint the inside or the outside?
The inside. The clear plastic then sits over the paint like a lacquer, which is why a painted shell looks glossy and why scratches on the outside do not reach the colour. It also means you work in reverse: details and dark colours go on first, the main colour after, backing coats last.
How many cans do I need for a 1:10 body?
One 150ml can of the main colour covers a typical 1:10 touring or buggy shell in three or four light coats. Add a can of white or silver to back it, and black if you want the colour to look solid in sunlight. Large truck and 1:8 shells are safer with two cans of the main colour.
Should I cut the body out before or after painting?
Before, in most cases. A clear shell lets you see the chassis through it, so marking and reaming the body post holes is far easier, and trimming first means you never scratch fresh paint. Leave the overspray film on the outside until the paint has cured.
How long does it take?
Allow an evening. Cutting and masking take most of the time; each coat of paint needs 10 to 15 minutes before the next, and the shell should be left overnight before you peel the film and fit decals.
When will my order be dispatched?
In-stock items ordered before 2pm UK time, Monday to Friday, are dispatched the same day by Royal Mail or DPD. UK delivery is free on orders over £129.99.
- Order by 2pmIn-stock orders leave the same day, Monday to Friday.
- Free UK delivery over £129.99Sent with Royal Mail or DPD.
- Stuck on a shell?Live chat is open 24/7; the team replies Monday to Friday.