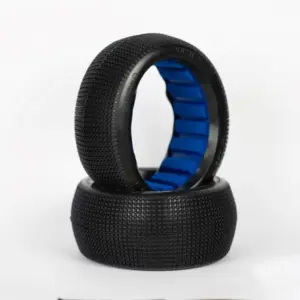
 1:8 Truggy TWISTER SUPER SOFT Rubber+Insert ""B1COMP"" (2)
 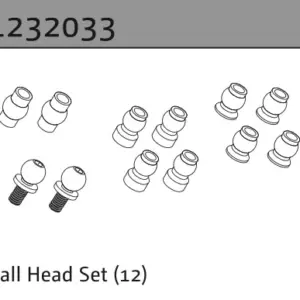 Ball Head Set (12)
 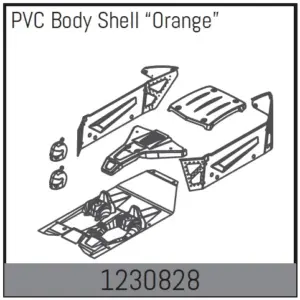 Body Shell Set - Orange
 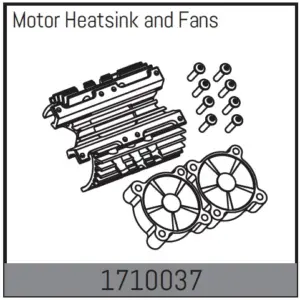 Motor Heatsink and Fans
 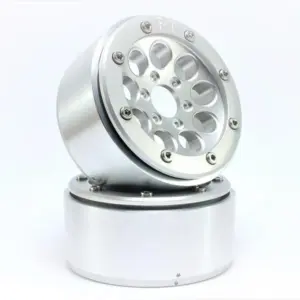 RC Crawler wheels Beadlock Wheels GUN Silver/Silver 1.9 (2) w/o Hub
 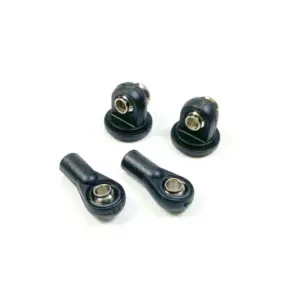 Ball Head Set (f. 1:10 Standard) 70mm-120mm (2)
 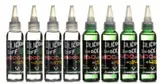 Absima Silicone Shock Oil "400CPS" 60ml
 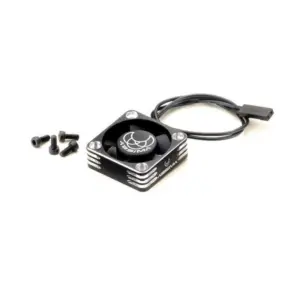 Alu High-Speed Brushless Fan (Motor 35*35mm) 21.000RPM
  Cable Holder self-adhesive (5)
 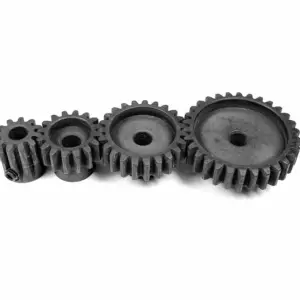 Steel Pinion Module 1.0 - 27T
 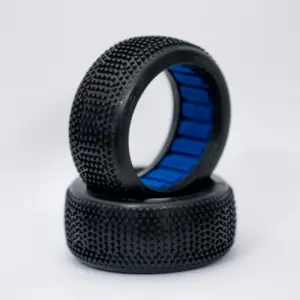 1:8 Buggy TIDE ULTRA SOFT Rubber+Insert ""B1COMP"" (2)
 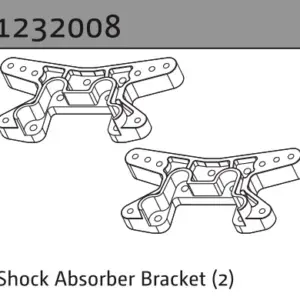 Shock Absorber Bracket (2)
  1:8 Buggy WIND SOFT Rubber+Insert ""B1COMP"" (2)
 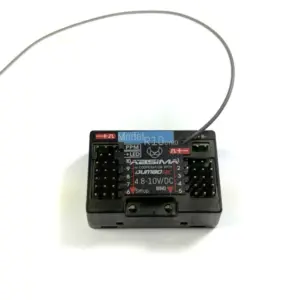 10-Channel Receiver R10GYRO 2.4GHz (for CR10P)
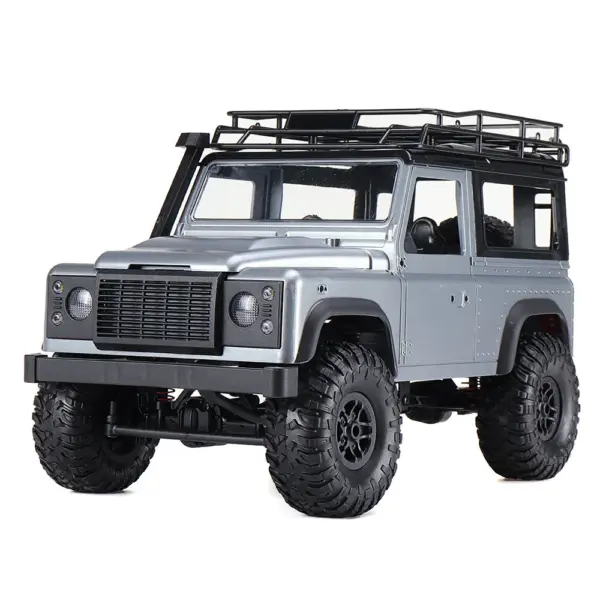


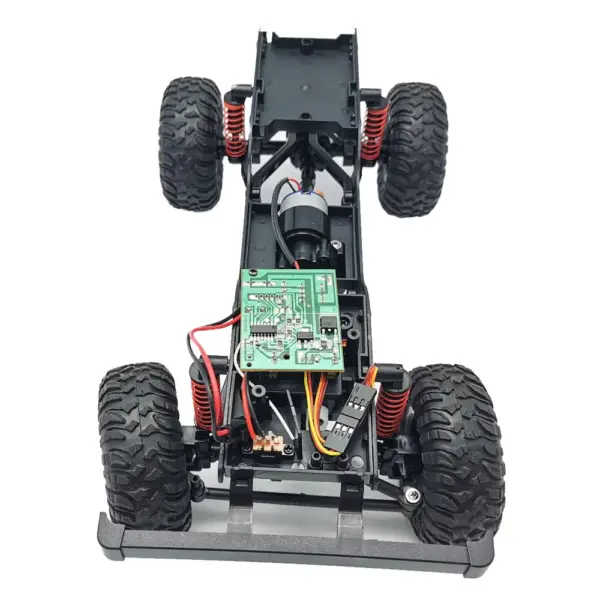
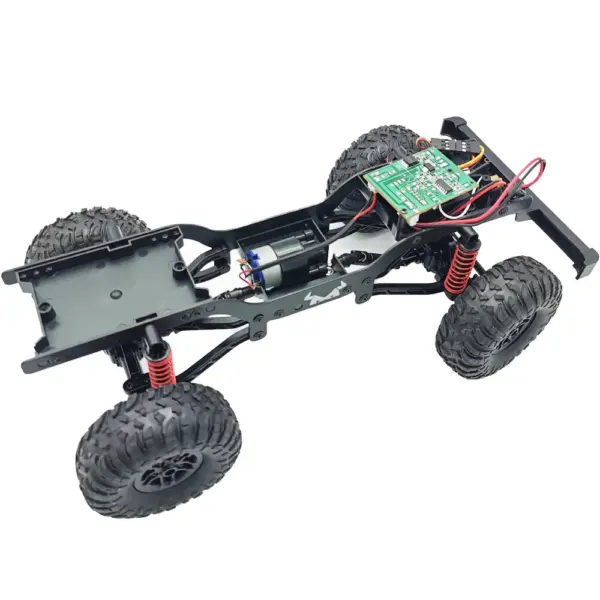
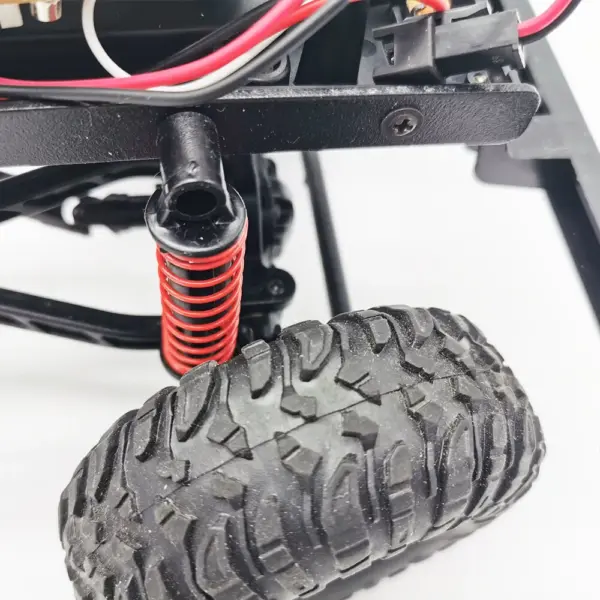

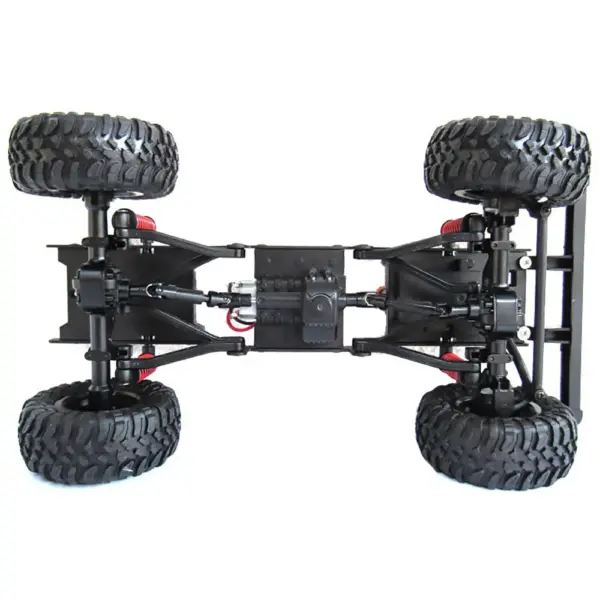

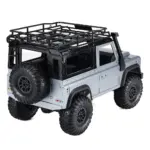
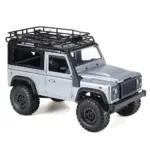


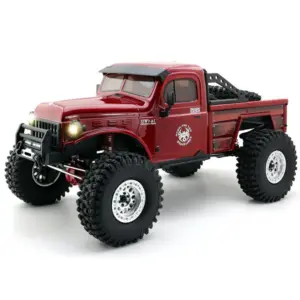
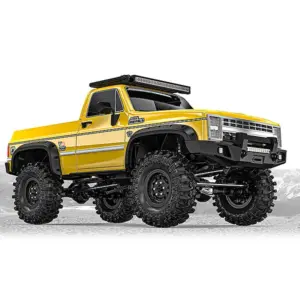
MN 99s 2.4G 1/12 4WD RTR Crawler RC Car Off-Road For Land Rover Vehicle Models
Key Specs
About this product
Note:
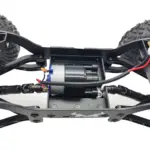
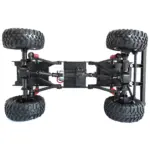
The MN 99S had upgraded the steering light compare with the MN99. The Mn99s is a scale model of the land rover discovery rock crawler. If your into scale models and love the classic look of the land rover discovery this could be the one for you.
Feature:
1, All-round simulation control, forward/backward, left/right turn
2, Full-scale steering gear, proportional control.
3, DIY accessories replacement, high playability; upgradeable
4. Simulation lighting;
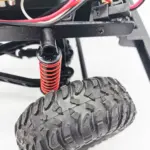
5. Simulated rubber tires with stronger grip and friction resistance;
6, 7.4v large capacity lithium battery, strong power, long-lasting battery life;
7, Alloy upgrade, anti-wear and fall;
8, 2.4ghz anti-interference automatic code, can play multi-car competition.
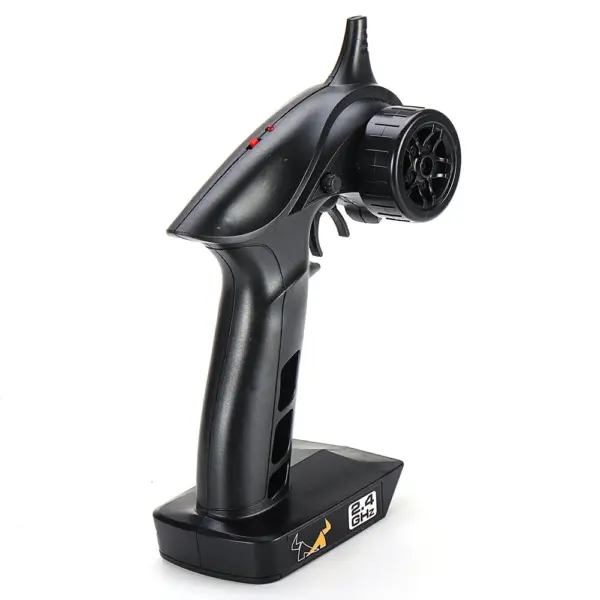
Package included:
1*RC Car
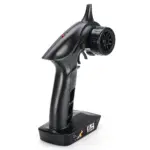
1*Controller
1*Rechargeable battery(built-in)
1*Charger
Frequently Asked Questions
Crawlers are built for slow, controlled movement over rough terrain with excellent grip and articulation — they're designed for rocks, dirt, grass, and obstacles rather than speed. The MN 99s with its proportional steering and simulated rubber tyres is perfect for gardens, parks, and off-road trails, making it ideal if you want to navigate challenging ground at a steady pace rather than race.
Yes, the MN 99s is ready-to-run — it comes fully assembled with a 7.4V lithium battery and 2.4G transmitter included. You'll just need four AA batteries for the controller, and you can start crawling straight out of the box.
The MN 99s is beginner-friendly with its stable platform and proportional steering control, making it easy to learn. MN Models sits in the budget-to-mid-range category, so it's built for fun and good value rather than premium durability, but the upgradeable design and DIY accessory replacement mean you can keep it running and customised for years.
Radio-Controlled.co.uk is a specialist UK RC retailer with years of experience in the hobby. We hold genuine stock, ship from the UK with no customs delays, and provide real expert support before and after your purchase — you deal with us directly, not an overseas marketplace.